The problem driving this guide
Too many homeowners want the clean lines and whisper-quiet airflow of a modern ceiling fan but get stopped cold by ceiling height, electrical uncertainty, or bulky motor housings. That hesitation costs comfort and wasted energy. If you’ve been eyeing a sleek bladeless ceiling fan with lights for your compact living room or low-slab condo, this is for you: a problem-driven, practical walkthrough that gets you from box to balanced airflow without unnecessary electrician bills.
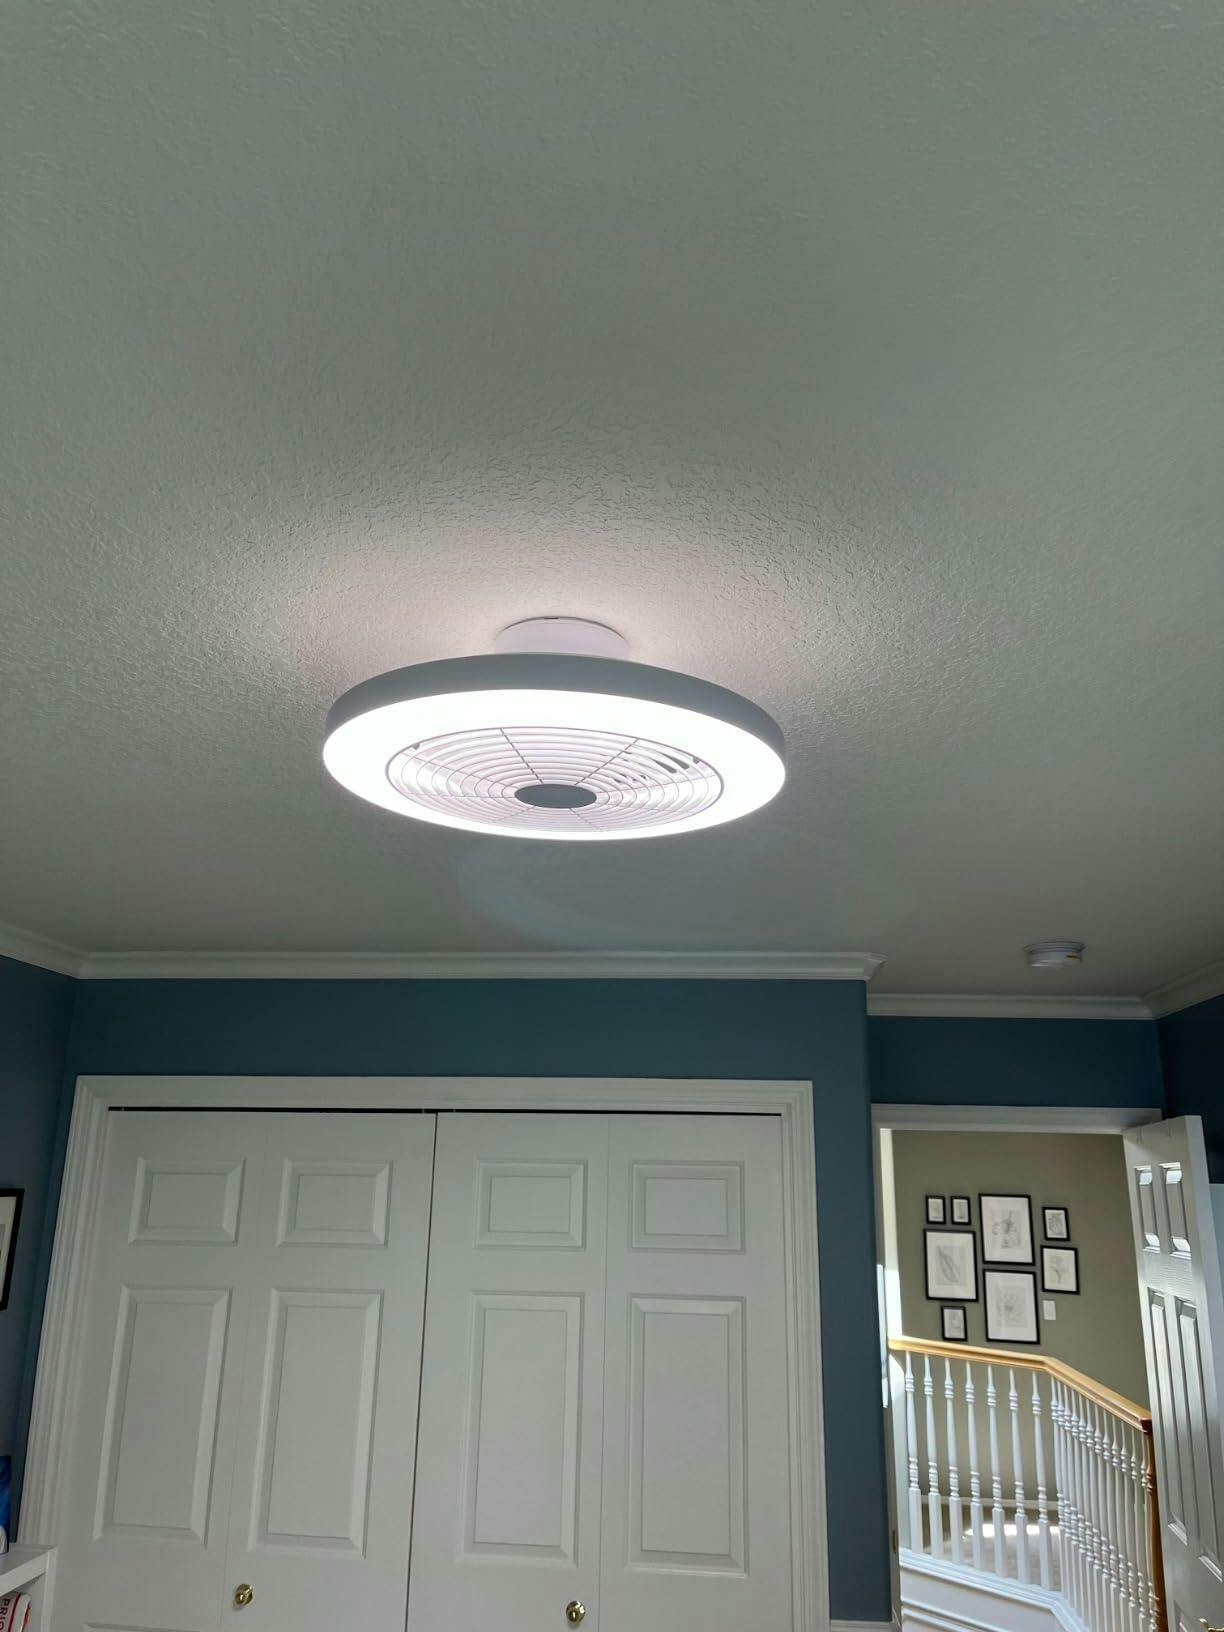
What causes installation headaches (and how we’ll solve them)
The main hurdles are threefold: inadequate mounting support, unclear wiring, and choosing the wrong profile for the room. Low ceilings and old junction boxes complicate mounting; mismatched wiring (or unclear labeling) makes a “simple” swap risky; and fans with large motor housings or long downrods ruin sightlines. This guide focuses on practical fixes: reinforcing the mounting, using proper connectors and a compatible motor spec, and selecting a truly low-profile design that preserves headroom. We’ll mention a couple of industry terms you’ll see on spec sheets — mounting bracket, downrod, and motor type — and explain what they mean in plain language so you can decide confidently.
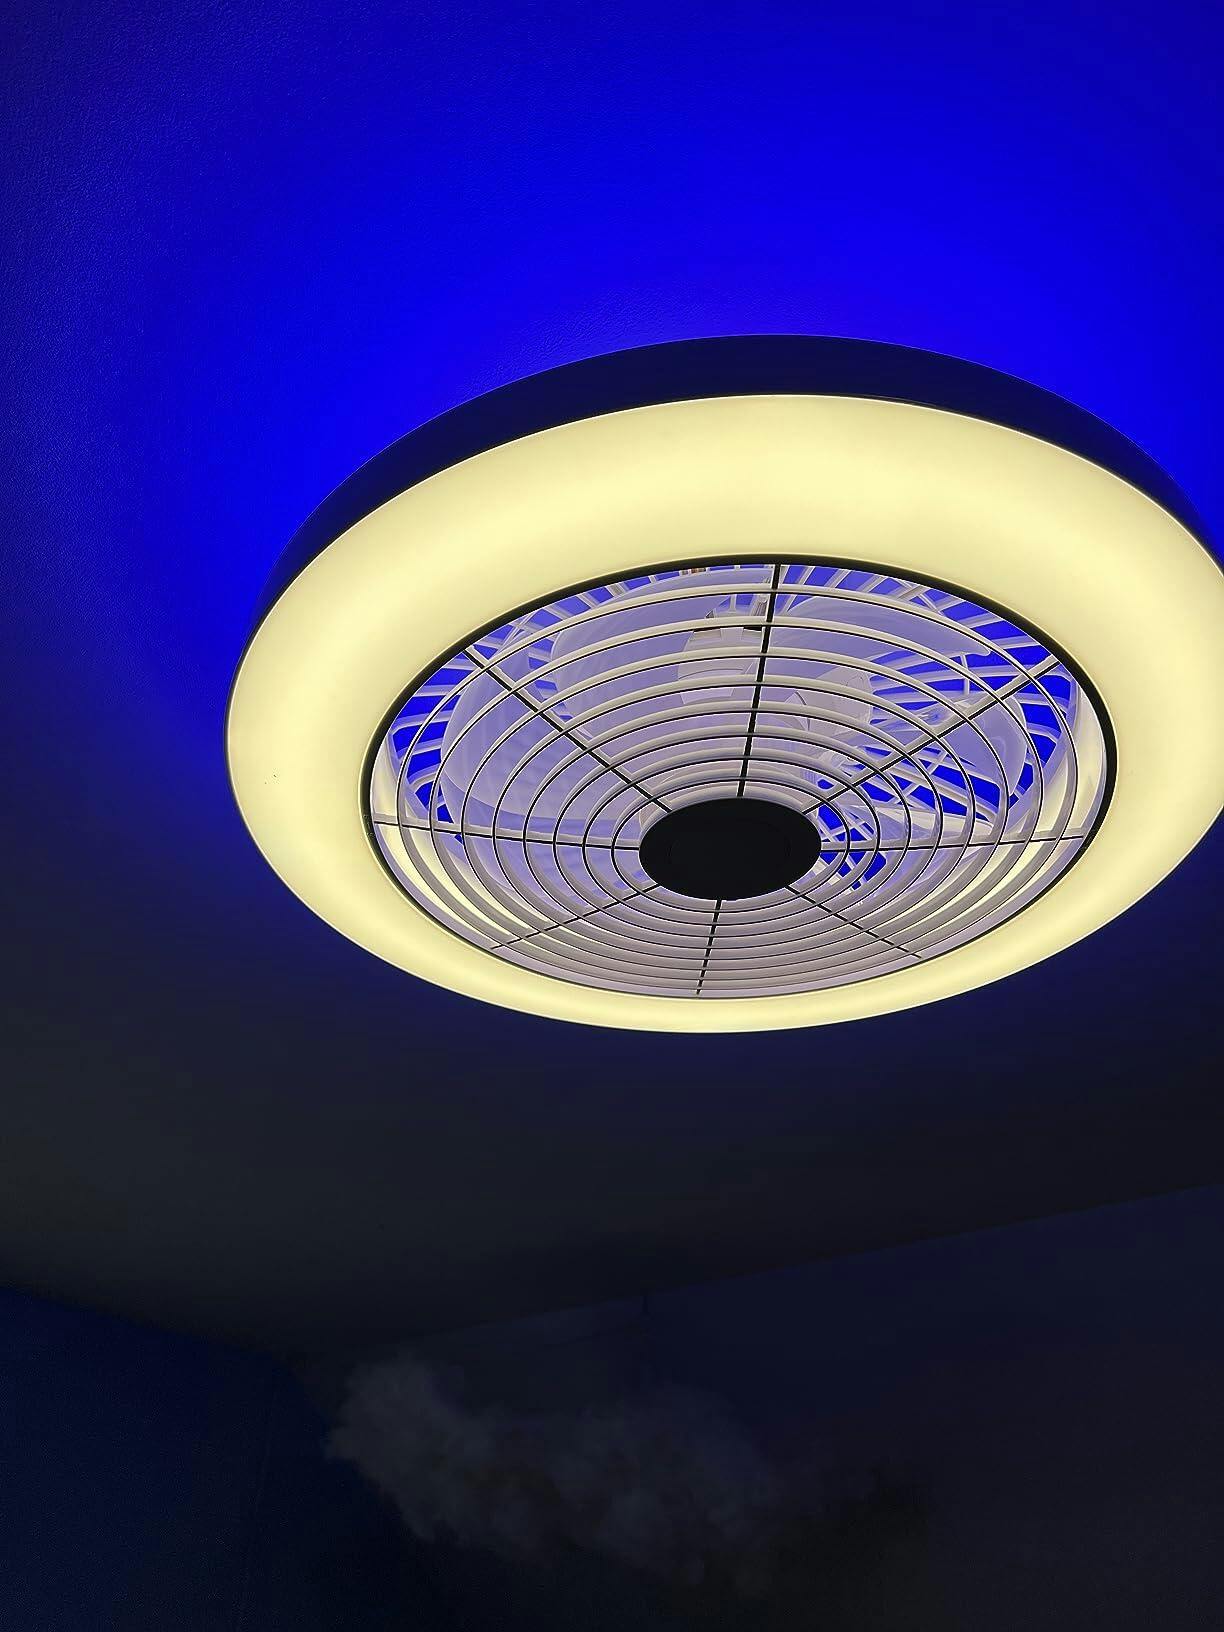
Tools, parts and key terms you need
Before you start, gather these essentials and know what they do:
- Tools: Phillips screwdriver, adjustable wrench, wire stripper, voltage tester, drill with wood and masonry bits, and a ladder rated for ceiling work.
- Parts: the fan kit (including mounting bracket and canopy), appropriate anchors or joist plates, wire connectors, and optionally a new flush-mount junction box if the existing box isn’t fan-rated.
- Key terms: mounting bracket (the metal plate that secures the fan to structure), downrod (short or absent on low-profile models), and motor type (AC vs DC — DC motors are lighter and more efficient).
Know the motor spec and the fan’s weight — those determine whether your existing ceiling box can handle the load. If the box isn’t labeled “fan-rated,” plan to install a joist-mounted brace or a fan-rated electrical box before you hang anything.
Step-by-step installation walkthrough
Follow these steps carefully; read the manufacturer manual first because models vary. This sequence assumes a simple one-switch control and standard residential wiring.
- Turn off power at the breaker and confirm with a voltage tester.
- Remove the old fixture and inspect the junction box. If it’s plastic or not fan-rated, swap to a fan-rated metal box anchored to a joist or use a brace.
- Assemble the fan per the manual — often you’ll attach the blades (or bladeless ring) to the motor and fit the canopy over the mounting bracket.
- Secure the mounting bracket to the fan-rated box or brace. For low-profile installs, use the flush-mount option or a short downrod supplied with the unit.
- Make the wiring connections: typically black (fan motor hot), blue (light hot), white (neutral), and green/bare (ground). Use proper wire nuts and strain reliefs. Label wires if you must — it makes troubleshooting painless.
- Tuck the wiring into the box, attach the canopy, attach the light kit if present, then test operation at the breaker before completing final trim.
- Balance and test: check wobble with the fan at several speeds and tighten all screws. If the kit includes a remote or smart driver, pair and update settings.
If your apartment uses exposed concrete or non-standard wiring, you’ll need a masonry anchor or an electrician’s help for code compliance — but for typical wood-joist ceilings the above will handle most low-profile bladeless ceiling fan installs, including the low profile bladeless ceiling fan models designed for flush fit.
Common mistakes and how to sidestep them
People trip up on a few repeat offenders: assuming the old box is fan-rated, skipping the balancing step, and underestimating the canopy clearance. Don’t assume anything — verify the box, test balance, and measure headroom. Also watch the light kit wiring: mixing the motor and light circuits without proper isolation can fry a driver. A small but crucial point — torque all canopy screws evenly to avoid a gradual sag that leads to wobble. These are avoidable errors if you take each step deliberately — patience here prevents two-hour do-overs.
When DIY makes sense — and when to call a pro
DIY is great when: you have a standard, fan-rated box; the fan is within the weight limits; and you’re comfortable turning the breaker off and testing wires. Call a licensed electrician when you encounter knob-and-tube wiring, aluminum conductors, rusted joists, or if local code requires a permit for electrical changes. Also, if your install involves new wiring runs, multiple switches, or integration into a home automation bus, get professional help — that’s beyond a basic swap and can affect safety and insurance.
Three golden rules for choosing and installing a low-profile bladeless fan
1) Structural match: confirm a fan-rated box or install a joist brace — structural support is non-negotiable. 2) Compatibility over looks: match the motor type and wiring to your existing circuit; prefer DC motors for efficiency and lighter weight. 3) Test before finalizing: assemble and test motor and light functions on a temporary mount to verify balance and operation before closing the canopy.
Follow these rules and you’ll avoid the common failure modes that turn a promising upgrade into a costly headache — and you’ll get the sleek, efficient airflow you bought the fixture for. In dense urban retrofits from Brooklyn walk-ups to San Francisco flats, low-profile solutions that marry robust mounting with smart motor tech are the clear winners. Orison.
–